
7 November 2026
Snagging A New Kitchen In Liverpool: What To Check Before The Final Payment
Snagging a new kitchen in Liverpool is the hour where you stop being polite and start opening every drawer. It’s also the last moment you have real leverage, because once the final invoice is paid, a loose hinge drops from “before I go” to “when I’m next passing”. It’s normal for a new kitchen to have a few small faults at handover. Typically that means a door that needs a quarter turn on a hinge screw, a bit of silicone that’s been missed, or a plinth that doesn’t quite sit flat on an uneven floor. None of that is a disaster, and a good fitter expects you to find it. What follows is the order we’d check things in, what’s a fair snag and what isn’t, how to put it in writing, and which certificates and papers you should have in hand before the money goes.
Snagging A New Kitchen In Liverpool: Set Up The Walk-Round Properly
Do the check when the dust sheets are gone and the room has been wiped down. Fine dust hides scratches on gloss doors and quartz. Book it for daylight if you can, then switch on every light, including the under-cabinet strips, because a low light across a worktop shows chips and swirl marks that overhead spots don’t. In winter it’s dark by half four in Liverpool, so a morning slot makes this easier.

Ask the fitter to be there. Most adjustments take seconds with the right screwdriver, and they can fix half the list while you’re still writing the other half. Bring your phone for photos, a torch, a roll of kitchen paper and the plan or drawing you signed off. If you’re booking a kitchen installation in Liverpool, ask for the walk-round to be written into the quote, so it’s planned rather than squeezed in while the van is being loaded.
Doors, Drawers And Hinges
Start at one end of the run and open everything. Each door should swing fully without touching its neighbour or the wall, and close gently whether you nudge it or give it a firm push. Soft-close hinges and runners are meant to catch the door at the last few centimetres and pull it shut. If a door bounces back open, stops short or slams, it needs adjusting.
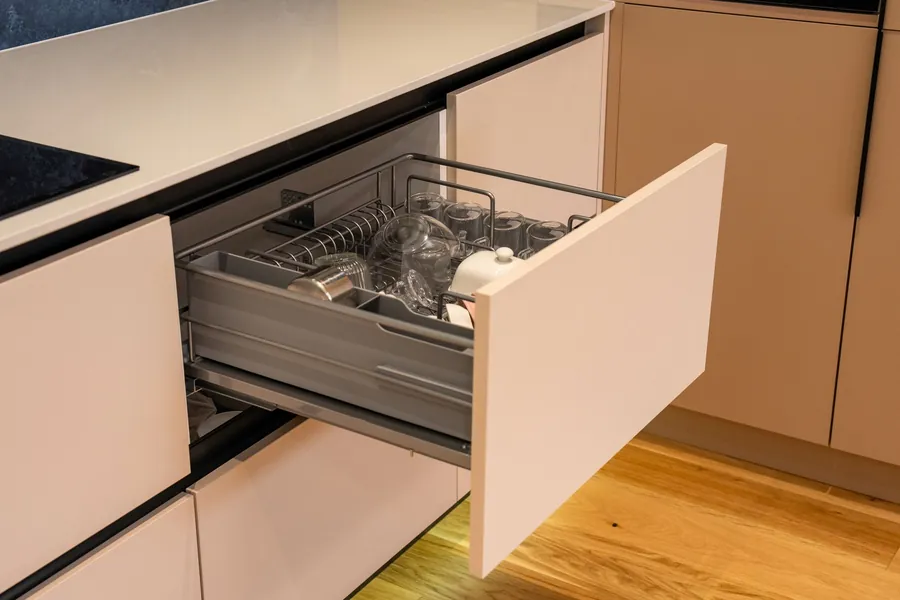
Then stand back and look at the gaps. The lines between doors should be even top to bottom and match across the run. Drawer fronts should line up with the doors beside them, and the tops of the wall units should sit in one straight line. Most modern hinges have three adjustment screws, for side-to-side, depth and height, so a crooked door is nearly always a quick fix rather than a replacement.
Pull every drawer right out. It should run smoothly on both sides without scraping, and a full pan drawer shouldn’t sag at the front. Check the backs and edges of doors for chips from transport, and look at the cut edges of any filler pieces. Raw chipboard showing anywhere it can be seen is worth a note.
Worktop Joints, The Sink And Hob, Tiles And Silicone
Run a hand along every worktop joint. On laminate, the join should feel close to flush and be filled with colour-matched sealant so water can’t get into the core. That matters, because chipboard that takes in water swells and never goes back. On quartz or granite the joint should be filled with tinted resin and be hard to spot from standing height. On solid wood, ask whether the underside and every cut-out were oiled before fitting. You can’t see those faces once the top is down, and they’re where wood worktops usually start to go.

Look round the sink and hob. The sink should be sealed to the worktop all the way round, with no gaps at the corners. The hob should sit level, with its seal squashed evenly beneath it. Fill the sink, let it drain, then check under it with the kitchen paper. More on that below.
Finally, the tiles and silicone. Grout lines should be even, cut tiles round sockets should be neat, and no tile edge should stand proud of the next. Where tiles or upstands meet the worktop there should be silicone, not grout, because that joint moves slightly and grout cracks. The bead should be one continuous line with no smears on the doors.
End Panels, Scribing And Plinths In Older Liverpool Terraces
Much of the city’s housing is late-Victorian and Edwardian brick terrace, from Anfield and Walton to Wavertree and the streets off Smithdown Road. Kitchens there are often in the narrow back addition behind the main house. Walls in those rooms are rarely plumb, corners are seldom square, and floors often fall towards the back door. A fitter can’t change that, but they can hide it, and that’s what you’re checking.

Look where an end panel or tall unit meets a wall. If the wall leans, the panel or a filler beside it should have been scribed - cut to follow the wall’s line - so the gap stays tight from floor to ceiling. A gap that starts at nothing and opens to a finger’s width at the top means the scribing was skipped. The same goes for worktops pushed into an out-of-square corner: a long, wedge-shaped gap filled with a thick line of silicone is a shortcut.
Next, crouch down. Plinths should touch the floor along their length, or have a seal strip that does, and they should clip off for access to the feet and services behind. On a floor that slopes, the plinth should be trimmed to follow it rather than leaving a wedge of daylight at one end. Check that fillers next to walls are wide enough for doors and drawers to open past the handles.
Appliances, Ventilation And The Cupboard Under The Sink
Run every appliance while the fitter is there. Fill the dishwasher and start a cycle. Turn on the oven, every hob ring and the extractor at each speed. Open the integrated fridge and freezer doors fully and make sure they clear the wall, the worktop and the next door.
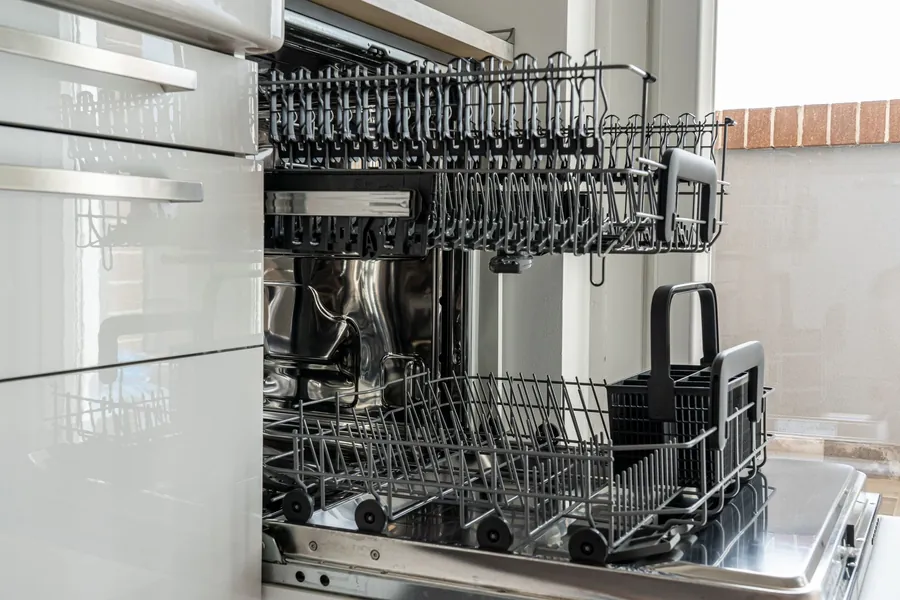
Integrated appliances need air. Many built-in fridges are designed to breathe through a vented plinth or a gap at the back of the housing, and ovens need the clearances in their installation manual. If the plinth in front of the fridge is solid and the manual shows a vent, ask about it. For the extractor, hold a sheet of kitchen paper under it on full power. A ducted hood should pull it up firmly, and you should be able to feel air at the outside grille. A recirculating one should have its carbon filters fitted, not still in the box.
Then open the sink cupboard. With the dishwasher running and both taps on, lay dry kitchen paper under the trap, the waste connections and the isolating valves, and check it again after ten minutes. Any damp means a fitting needs tightening now, not after it has soaked into the cupboard base. Both supplies should have isolating valves you can reach and turn with a screwdriver.
Paperwork To Collect When Snagging A New Kitchen In Liverpool
The certificates are part of the job, so don’t let the final payment go before you know they’re on the way. For electrical work, you should get a certificate under the wiring regulations. That’s an Electrical Installation Certificate for a new circuit, such as one feeding an oven or induction hob, or a Minor Works Certificate for sockets added to an existing circuit. New circuits are notifiable under Part P. If your electrician belongs to a competent person scheme they can self-certify, and the GOV.UK guidance on competent person schemes says the compliance certificate should follow within eight weeks of completion. Keep it with the deeds, because a buyer’s solicitor will ask for it one day.

For a gas hob, the person who connected it must be on the Gas Safe Register. Ask to see their ID card before they start: the back lists the types of gas work they’re qualified to do, and cookers and hobs should be on it. Swapping or connecting a hob isn’t usually notified to building control the way a new boiler is, so don’t sit waiting for a certificate in the post. Do ask for the engineer’s name and registration number and a note that the connection was tested. The Health and Safety Executive’s domestic gas pages cover what the law expects of gas work at home.
The rest is a folder you’ll be glad of in five years:
- Appliance manuals, with the model and serial numbers noted, and warranties registered in your name
- The unit and worktop manufacturer’s guarantee and care instructions, especially for wood or quartz
- The fitter’s workmanship guarantee, in writing, saying what it covers and for how long
- A final invoice showing everything you’ve paid and what’s outstanding
- Any spare plinth, end panel offcuts or touch-up pens the fitter is leaving behind
Snag Or Change Of Mind, And How To Raise It In Writing
Be honest with yourself here. A snag is a fault or something that doesn’t match what you agreed: a chipped door, a leaking waste, an unscribed gap, a socket that doesn’t work. Deciding you’d prefer bar handles to knobs, or wishing you’d asked for a socket on the island, is a change. A reasonable fitter will often help with small changes, but they’re priced separately, and mixing them into a snag list is where a lot of handover rows start.

Put the list in writing the same day, even if you’ve talked it all through. Number each item, say where it is (“third wall unit from the window, left-hand door drops 3mm”), and attach a photo with a tape measure or coin in shot for scale. Email it, so there’s a date on it, and ask for a date for the return visit. Under the Consumer Rights Act, a trader has to carry out a service with reasonable care and skill, and if they haven’t, your first remedy is to ask them to put it right within a reasonable time.
On money, holding back an agreed sum until the list is signed off is normal and fair. Hold back what it would reasonably cost to fix the snags, and pay the rest. Keeping the entire balance over a cupboard door tends to backfire. The fairest version is the one agreed before work starts, which is why we cover retentions in our guide to paying for a new kitchen in Liverpool. If a fault only appears weeks later, a drip or a door that has dropped as the hinges bed in, report it in writing straight away. That falls under the workmanship guarantee, not the snag visit, and a good firm will treat it the same way.
Frequently Asked Questions

When should I snag a new kitchen?
Once the fitter says the job is done and the room has been cleaned, but before you pay the last invoice. Pick a time in daylight with the fitter present if you can, and give yourself at least an hour. If something only shows up a week or two later, such as a drip under the sink or a door that has dropped, add it to the list in writing straight away. It still counts.
How much of the final payment can I hold back for snags?
Enough to cover putting the faults right, agreed in writing, and not much more. Withholding the whole balance over one loose hinge sours the relationship and can put you in the wrong. The cleanest approach is to agree the retention figure in the contract before work starts, list the snags with a completion date, pay the rest, and release the retained sum once the list is signed off.
Will I get a certificate for my new kitchen electrics?
You should get a certificate for any electrical work, whether or not it was notifiable. A new circuit, for example for an oven or induction hob, usually means an Electrical Installation Certificate, and the work also has to be notified under Part P, either by an electrician in a competent person scheme or through building control. Extra sockets on an existing circuit normally come with a Minor Works Certificate. Where the work was self-certified through a scheme, the separate Building Regulations compliance certificate should reach you within eight weeks.
Is wanting a different handle or an extra socket a snag?
No. A snag is something that doesn’t match what was agreed or hasn’t been done to a reasonable standard, such as a chipped door, a leaking waste or a gap behind an end panel. Changing your mind about handles, wanting a socket that wasn’t on the plan or deciding the grout should be darker are changes to the job. A decent fitter will usually price them for you, but they belong on a separate quote, not the snag list.
Planning a kitchen and want the handover and certificates agreed from the start? Book a free kitchen survey in Liverpool.